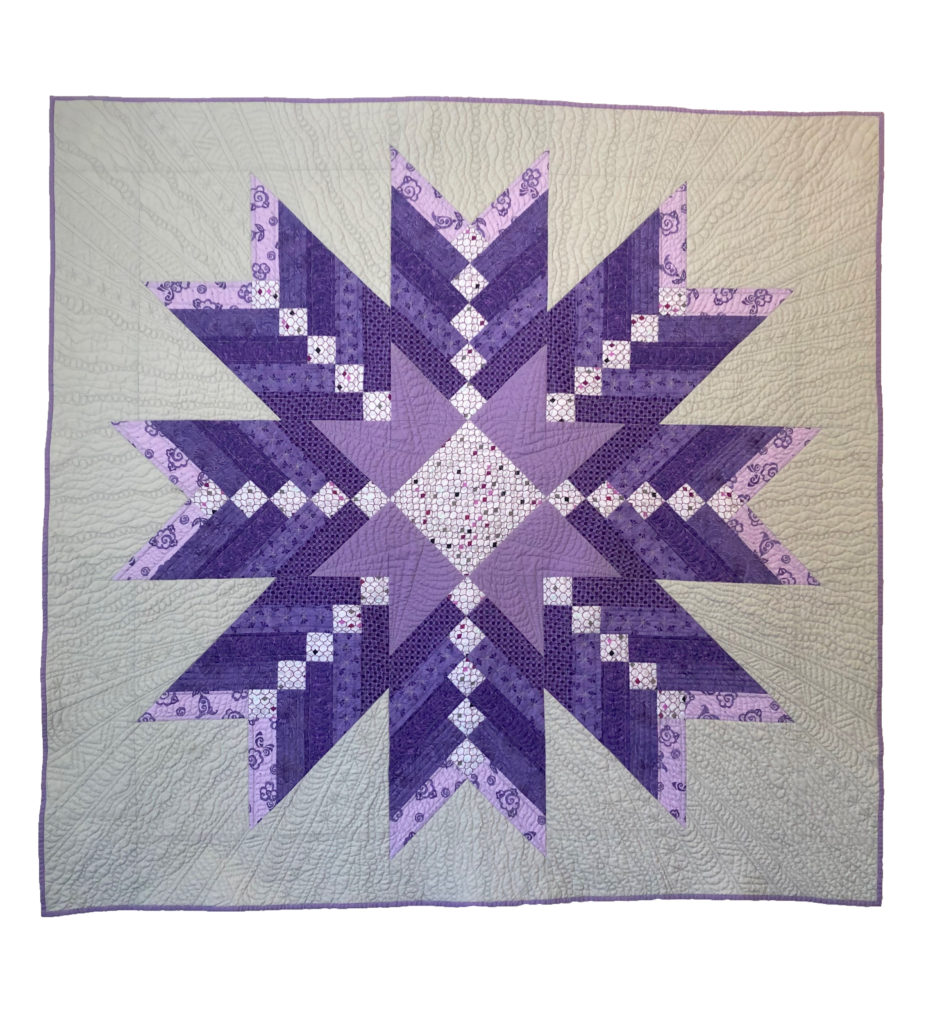
When I first started quilting, I really hated doing binding. I could never get the it to look perfect because I couldn’t connect the final binding tails together properly. I would always have either extra or not enough fabric on the binding. I would get so frustrated, I would end up putting a quilt away when only the binding was left.
Until I found the “Binding Tool“! Thank you to Missouri Star Quilt Company for showing this handy tool to finish binding. But they also have a tutorial on how to use it to make a braided quilt. Well, I took this tutorial and created my own modern version.
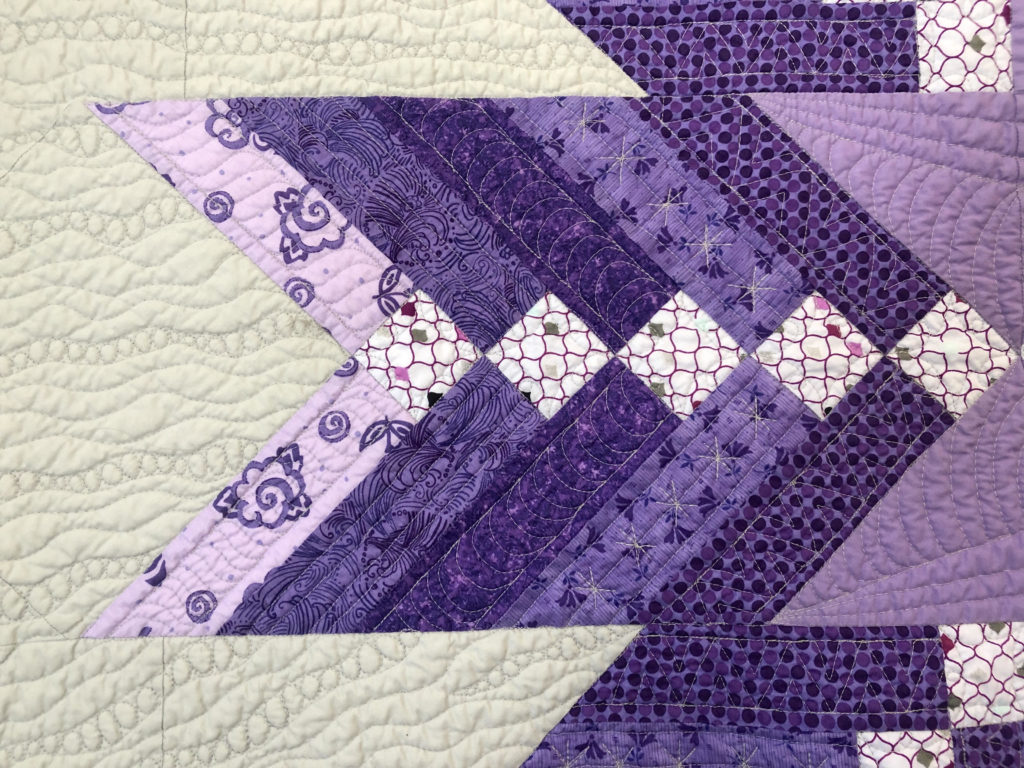
First, you take an eight inch square and then sew two inch strips on a corner. Keep doing this until all the strips are attached. I made eight of these units.
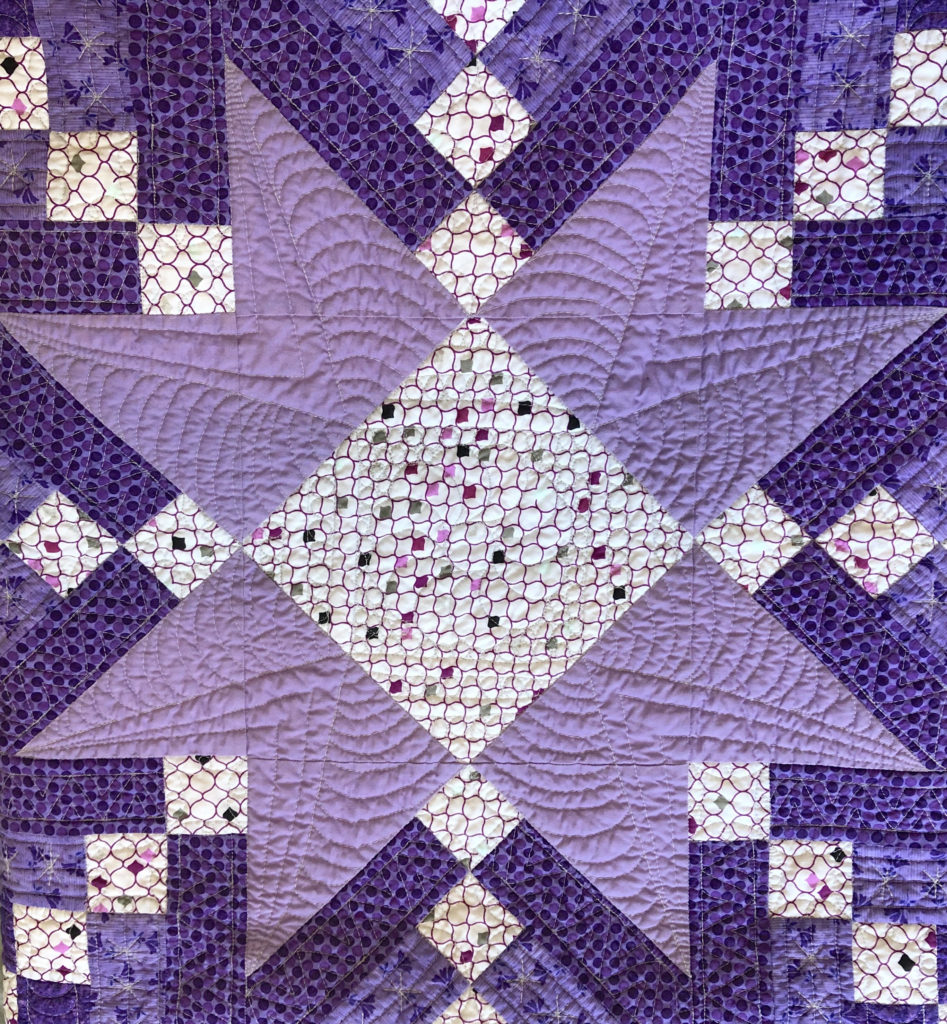
For the center of the quilt, I did a square in a square design. It ended up making a secondary star block. I love when that happens!
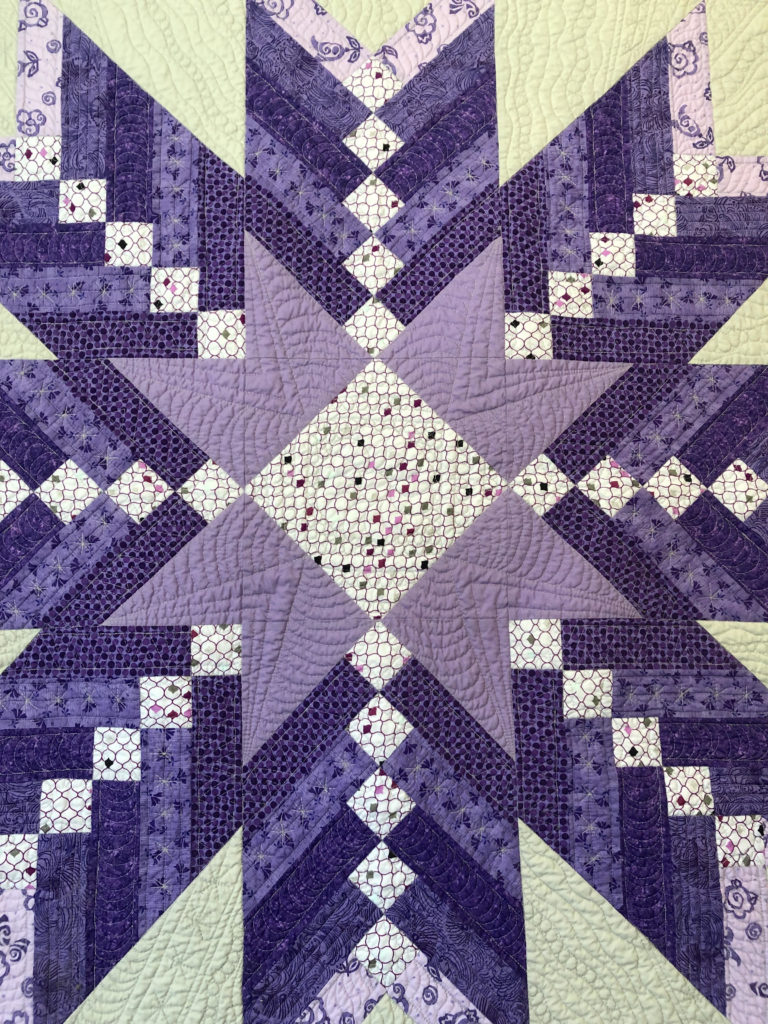
I attached each leg to the center square. I love how the small squares pulls your eyes to focus on the center.
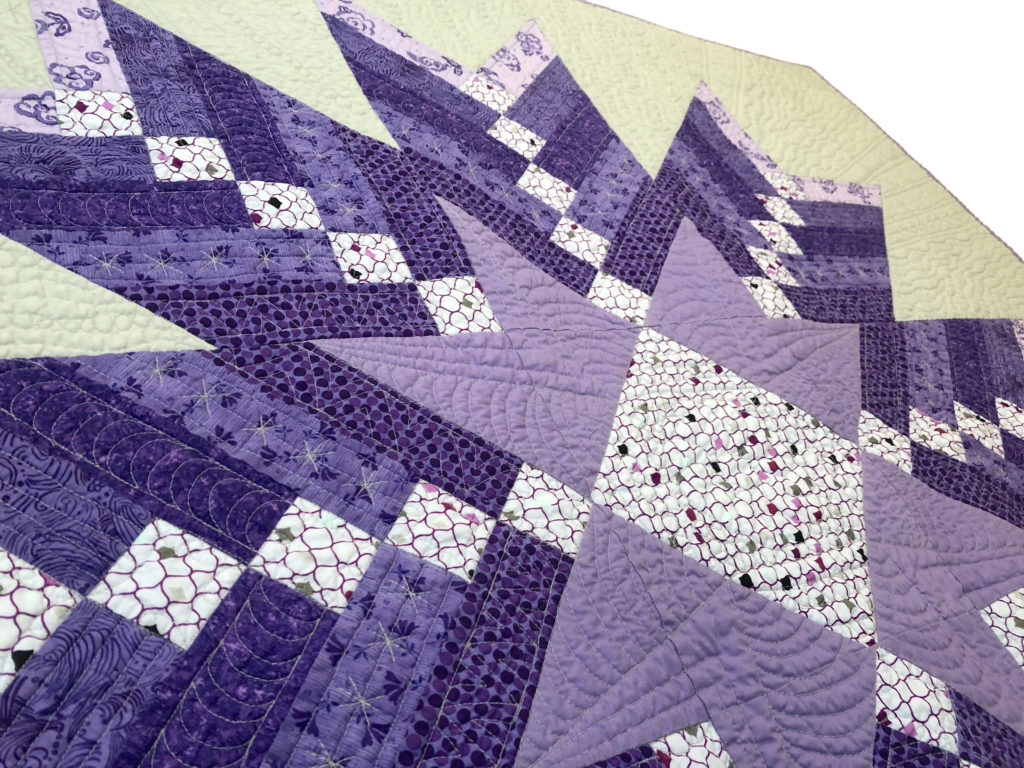
I went a little crazy with the free motion quilting. It was so much fun! I used a ruler foot to create straight lines on the star legs, then alternated motifs on each leg. I learned this from Christina Cameli in her Blueprint Class, “Wild Quilting“.
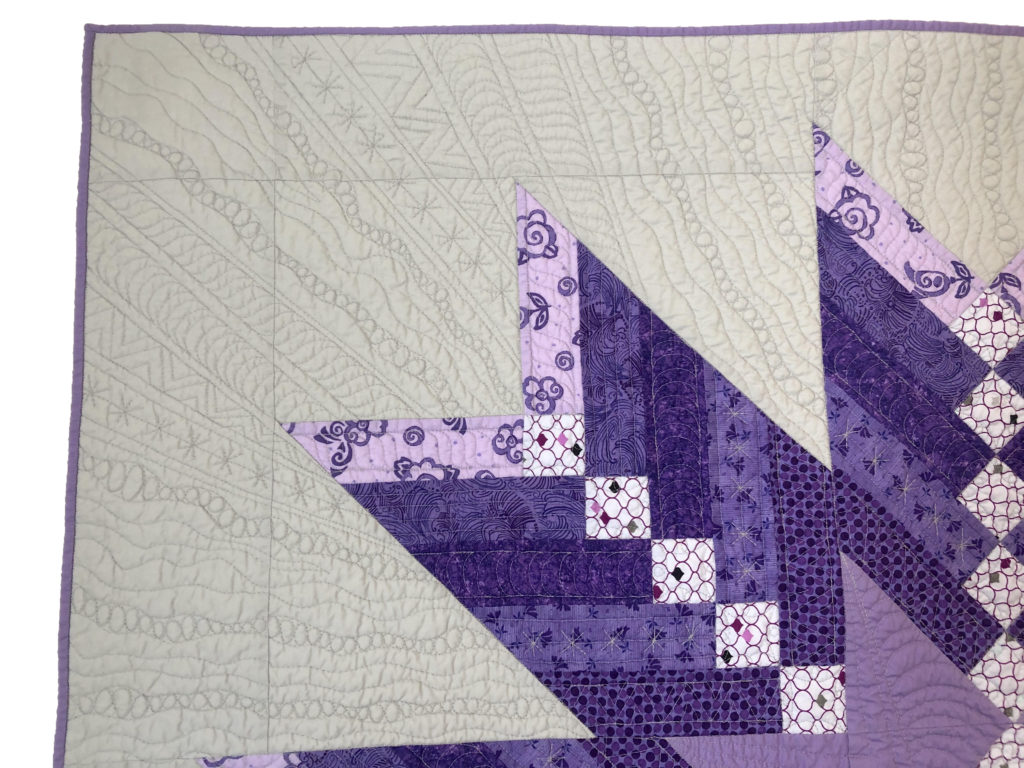
In this class, she shows how you can divide a space, then do different designs in between. I used this technique in the background to create a radiation effect.
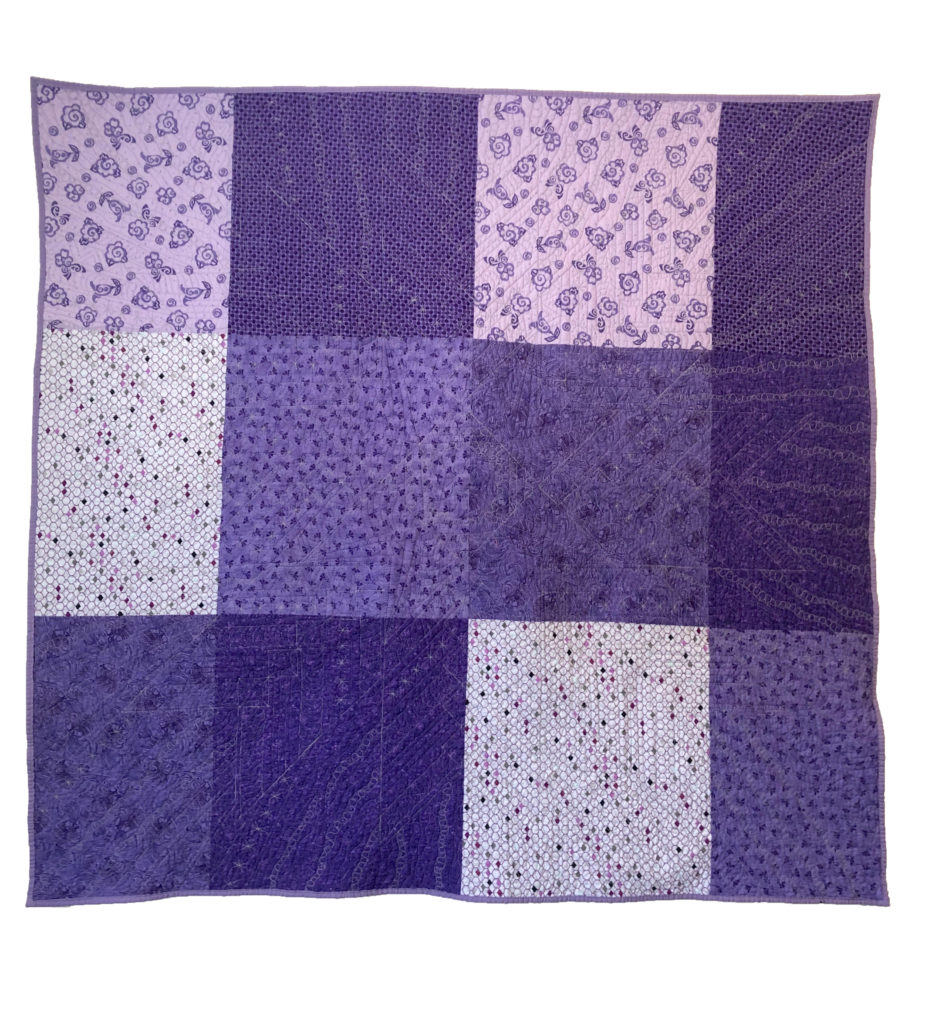
On the back of the quilt, I used the same prints on the star legs to create a scrappy back. I tried to keep as much as the fat quarter as possible and only trimmed enough to make each one the same size. I love doing this for backing.
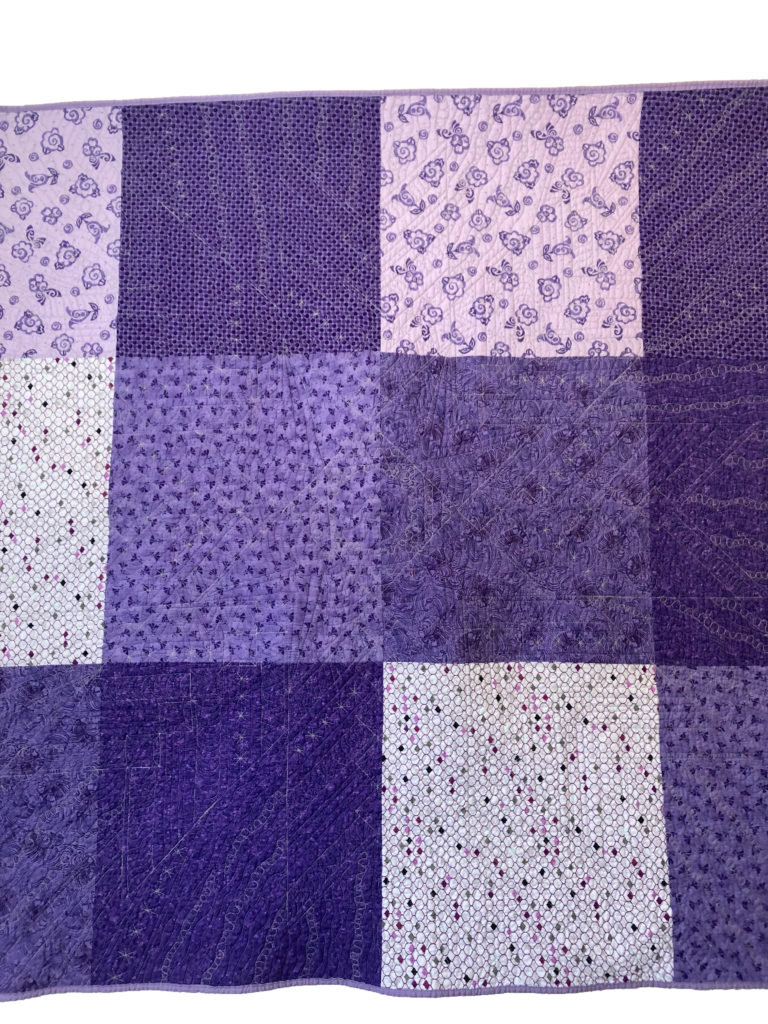
It almost makes it a two in one quilt, a fun design on the front, but with simple patchwork on the back. And of course, I used the same binding tool ruler for the binding. 🙂
This quilt has been sold, but if you are interested in your own, I do customer orders through my Etsy Store.
Thanks for taking a look and I hope you all stay safe and healthy!
