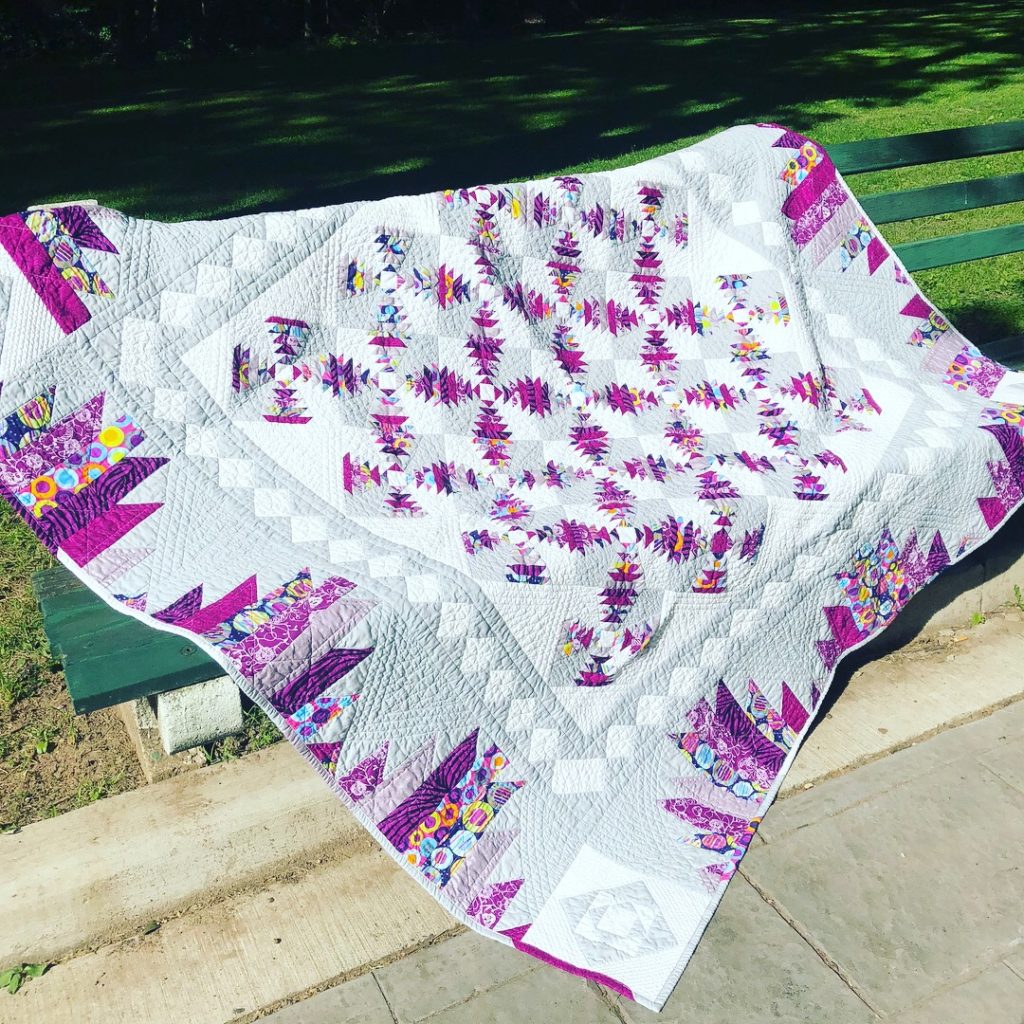
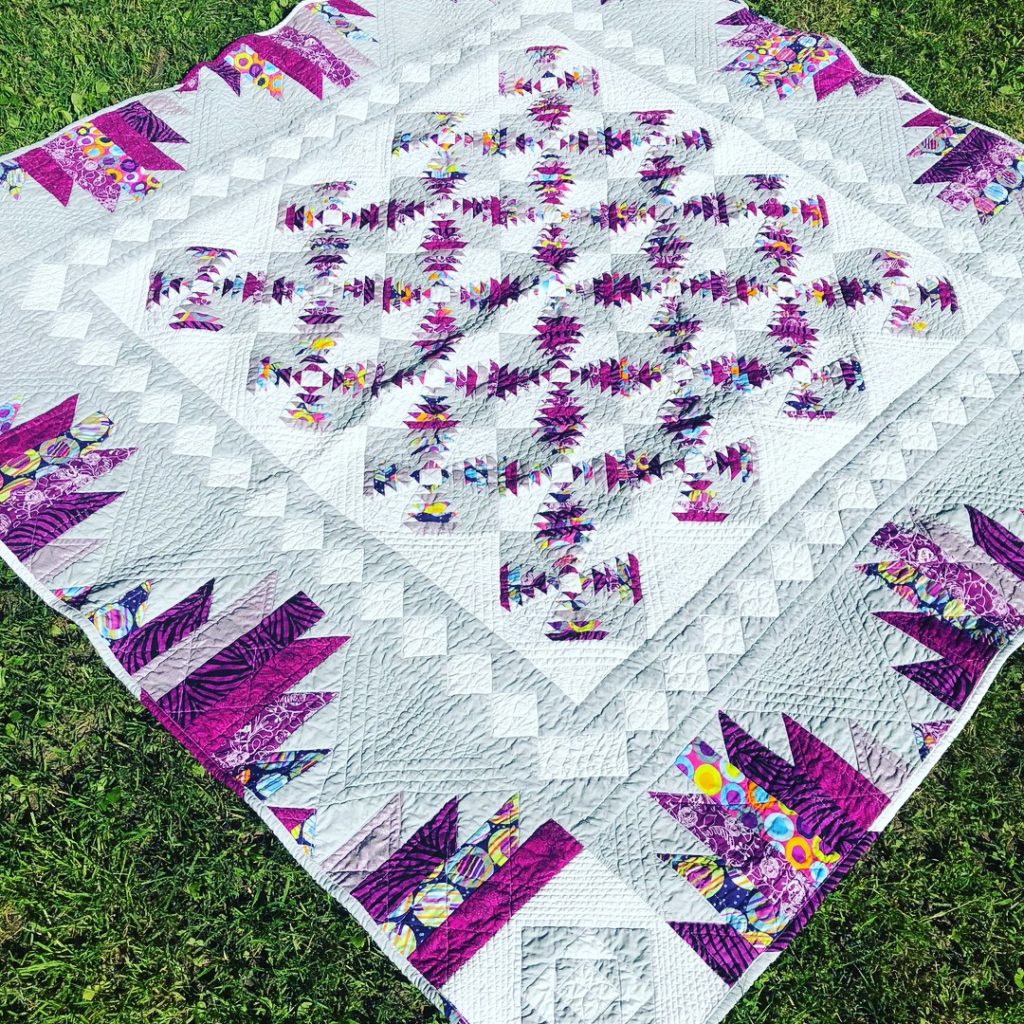
Who doesn’t love a pineapple block? Especially one that has Delectable Mountain blocks all around it? This quilt was truly a labor of love and took me several months to complete. But it was totally worth it for me, it was a gift to one of my best friends and she loved it. Now that it has been gifted, I get to share the finished product with you!

The center of the quilt has the traditional pineapple block set on point. She wanted a subtle quilt so the background fabrics are grey and white and with an added assortment of bright purple fabric.
All the pineapple blocks were paper pieced and I used Quilt Generations free pattern here. When I say it was a labor of love, I mean it! Each block took me at least one hour to paper piece and there are 25 of the bad boys in this quilt!

When I finished the pineapple blocks, the quilt wasn’t close to big enough, so I added a basic border around the quilt. It is made up of entirely hour glass block with half square triangles. I love the way it makes the white squares look like they are on point. After adding this border, the quilt was still missing something…. Inspiration hit and I added a delectable mountain border with more purple fabric to tie in the center of the quilt.

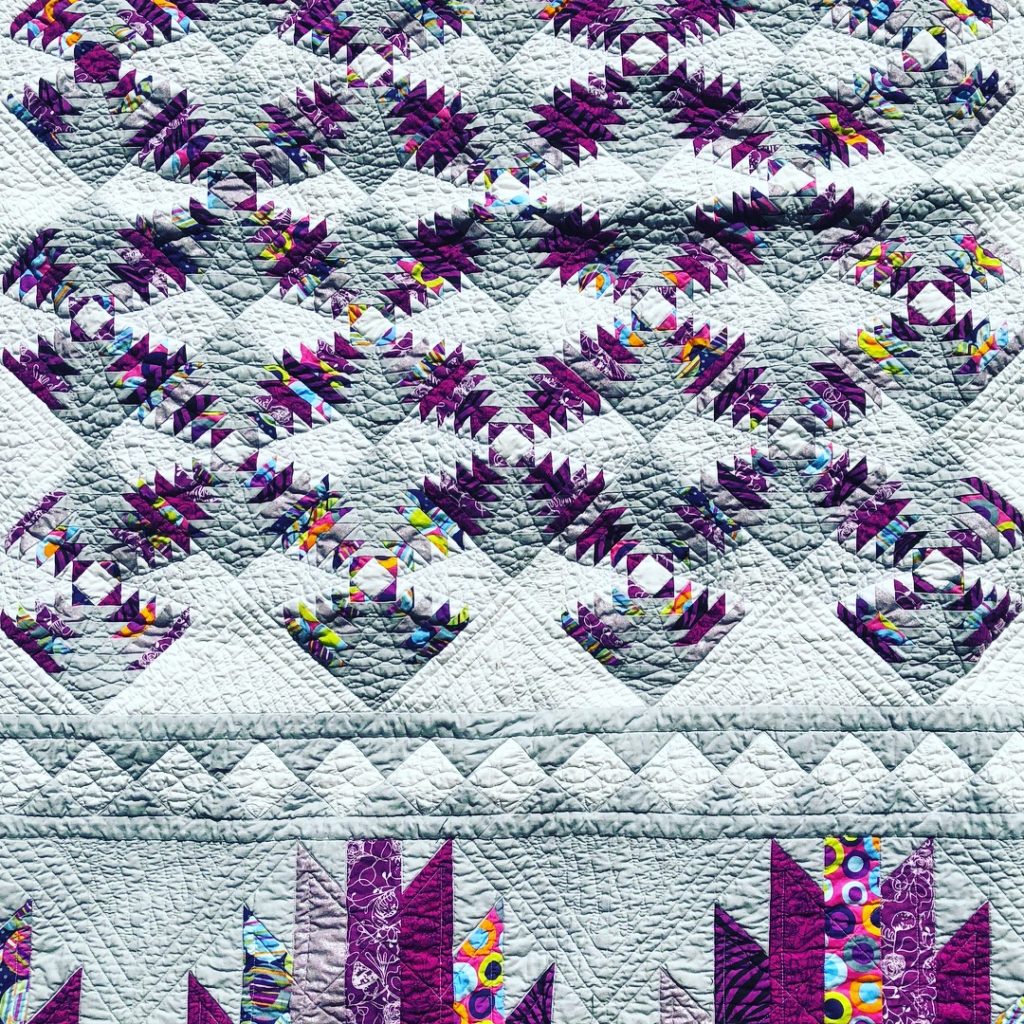
The quilting part is always so much fun for me. I added a lot of different motifs throughout the quilt and had a blast changing it up from the center, the middle border, the outside border, and the outermost corner stones. On the pineapple blocks, I did a wishbone motif but only on the grey and white. I really wanted the purple block to pop out and I didn’t want to over quilt it. I echoed the seams of the on point blocks and added wishbones to these triangles.
The white squares on the middle border have continuous line quilting to look like little flowers on the center and I did some quilting in the ditch around the entire border.
The outermost border with the delectable mountain blocks are echoed and straight line quilted. Again, I tried my best to avoid over quilting the purple fabric because I really wanted it to stand out and not be overwhelmed. On the grey, I repeated the pattern I used for the on point background blocks. It really tied in the center of the quilt to the outside border.
Lastly, on the outside corner stones, I quilted straight lines on the white background fabric to keep it simple and added a continuous line quilting on the center white blocks to tie in the middle border.

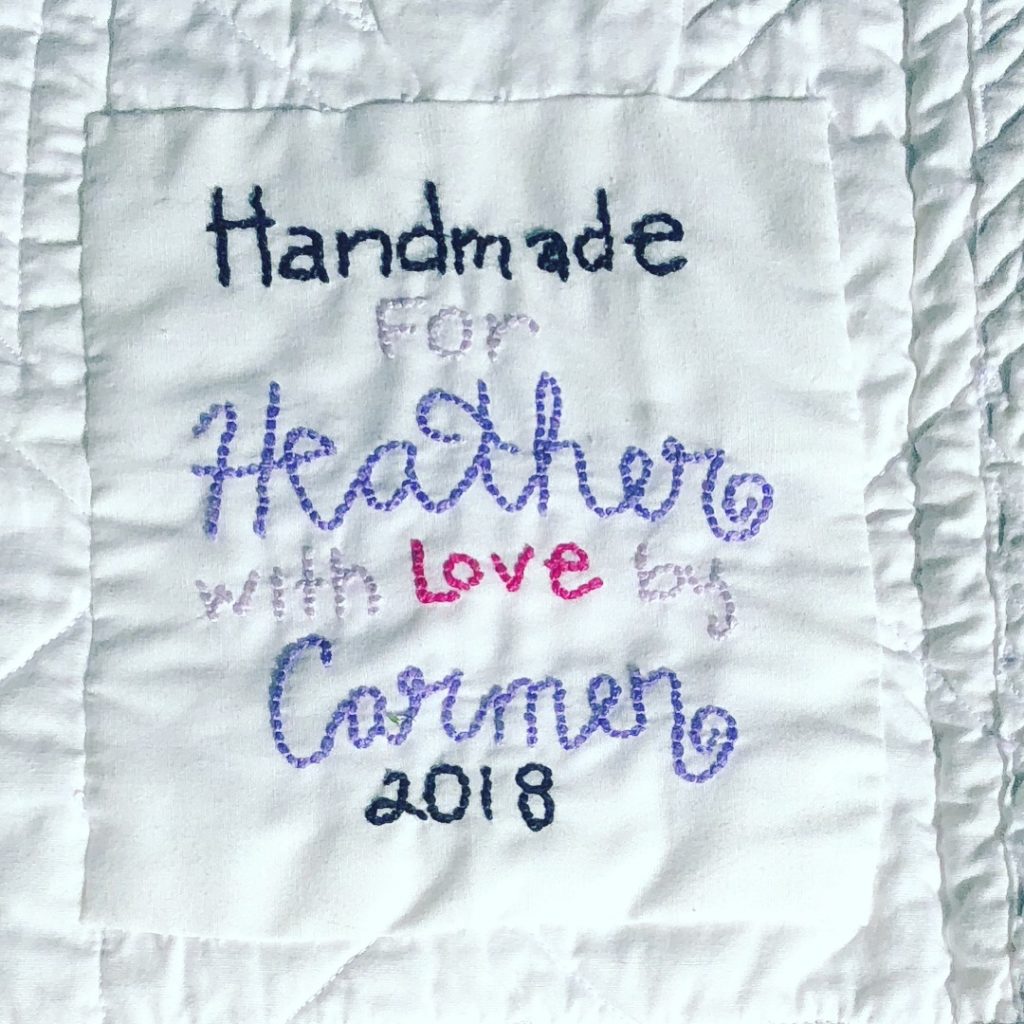
I’m usually not one to make a quilt label, I know I know, but this time I made an exception. I’ve never been a huge fan of embroidering, but I just had to make a long lasting label. After all, it’s for your best friend, how could you not?
So what do you all think? Heather was certainly happy with her gift and it just fills my heart that she enjoyed it! After all, that’s what quilting is for and it’s how you show your loved ones how special they are to you.
As you can imagine, this bad boy is not for sale, and I may never make another one like this again. Well, maybe some years down the line…. But if anyone has any questions on how I made this quilt for if you need instructions, leave a comment or reach out to me in the contact section! As always, stay crafty!

I love the efforts you have put in this, thank you for all the great content.
Thanks so much! I hope it helps you!